Free-Range Fruit | Lovely Loquat Jam
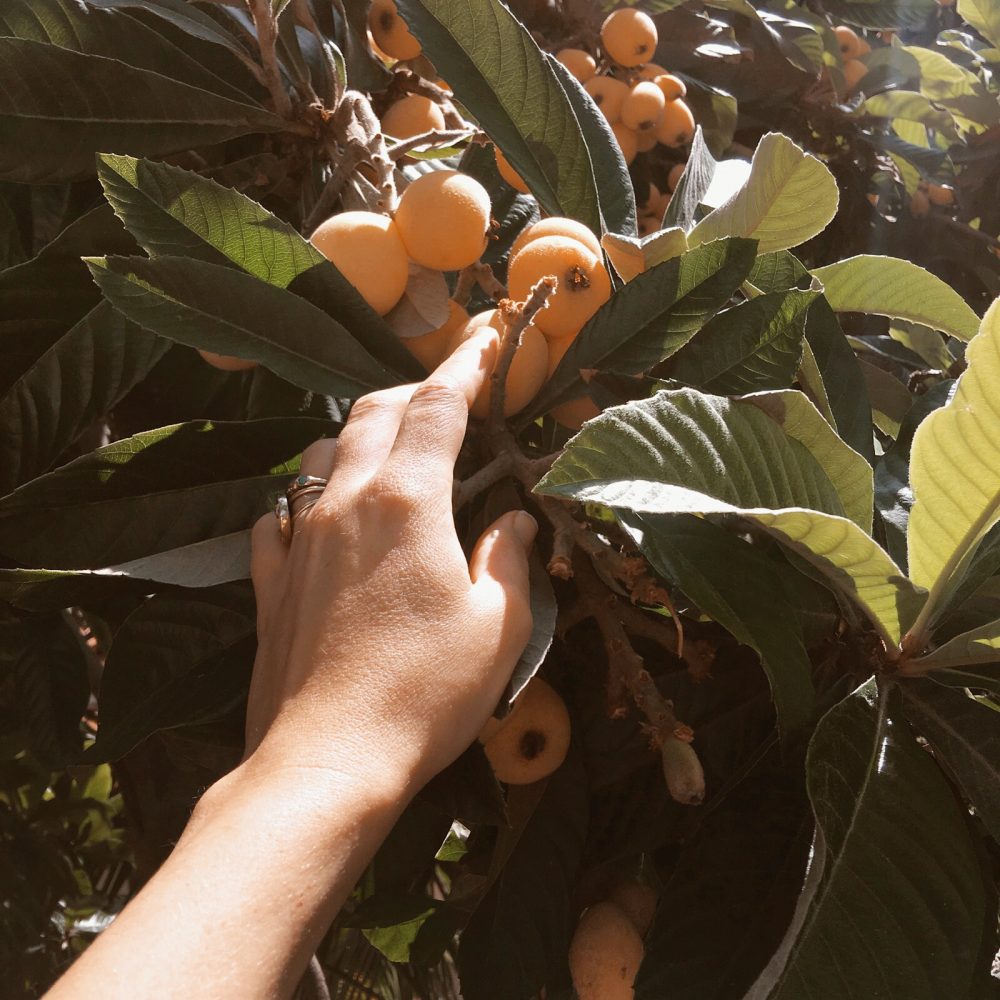
Loquat trees in Los Angeles are exploding with fruit ripe for the pickin’ all over town. Not only are they a gorgeous fruit, they’re bursting with goodness for your body as well! The lovely little loquat is full of vitamin A & C, iron, fiber, and anti-oxidants, which make it beneficial for digestion, ocular health, respiratory health and boosting your immune systems. Now that I’ve tasted the deliciousness of the loquat, I feel like kicking myself for so many missed opportunities to feast on its flesh. After a particularly hardy harvest, I had a bag of loquats just begging to be used – they turn from ripe to bad relatively quickly.
***If loquats aren’t available in your region, apricots are great substitutes.***
What to do with all that fruit?
Make jam of course.
LOVELY LOQUAT JAM
WHAT YOU NEED
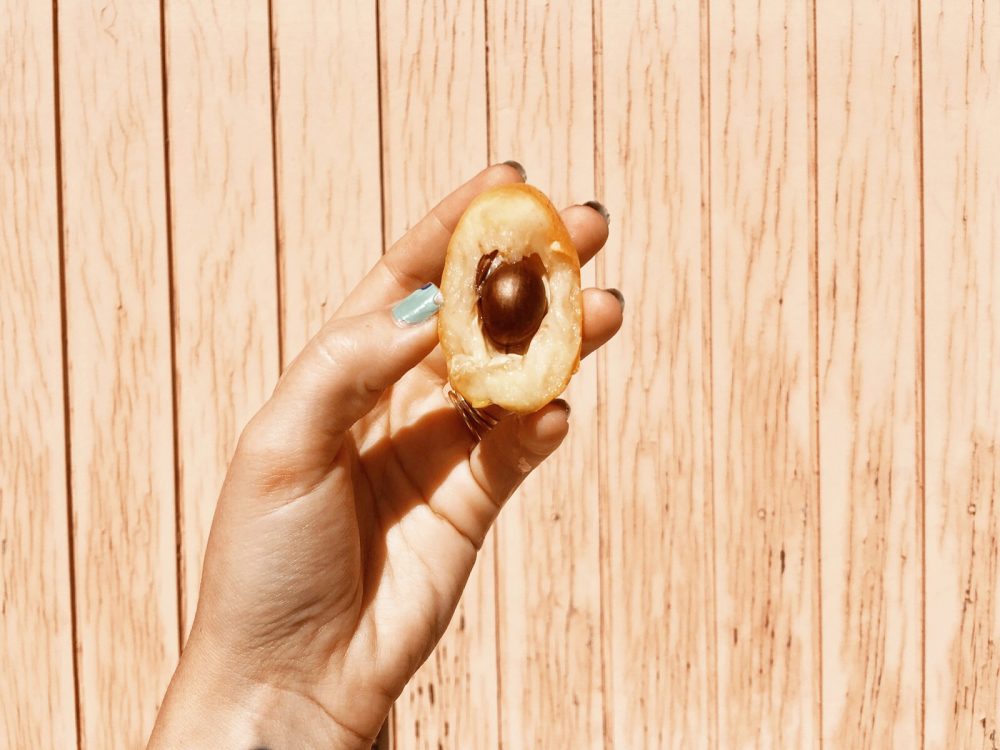
8 cups of loquats (halved and de-seeded)
1-2 cups of raw sugar ***
Juice of 1 Meyer lemon
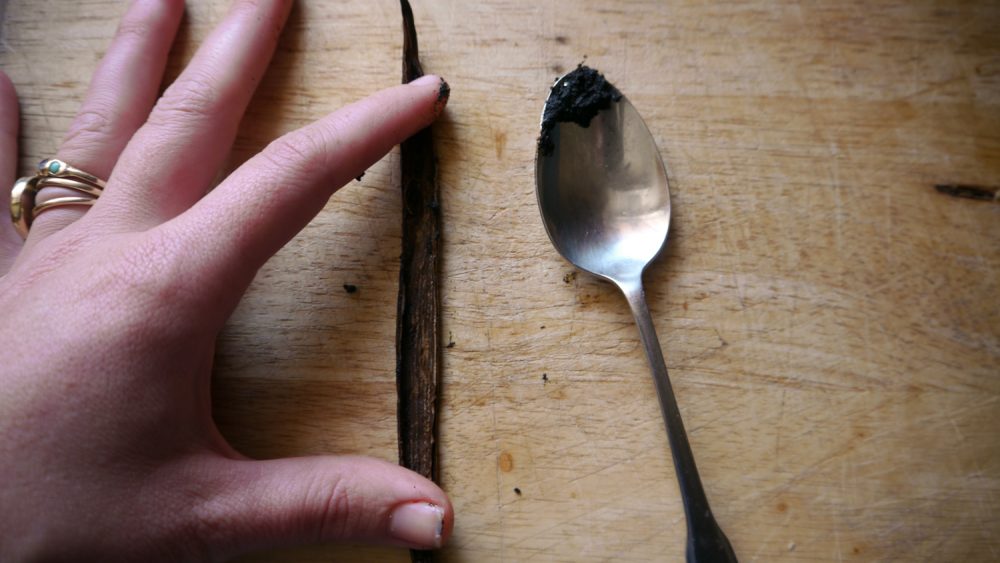
1 vanilla bean pod
Dash of salt
4 8oz glass mason jars for storage
***Most recipes call for 3/4 cup of sugar to every 1 cup of fruit but I found this to be WAY too much sugar for my own taste. I ended up doing 2-3 cups of sugar for my jam.
TO MAKE
STEP ONE: De-seed and cut the loquats in half. I like to cut off the brown ends of the fruit as well so they don’t end up in the jam.

STEP TWO: Cut the vanilla bean pod in half lengthwise, so you can scrape the precious vanilla beans out of the center.
STEP THREE: Combine fruit, sugar, the juice of the lemon, the vanilla bean and a dash of salt into a large sauce pan on the stove top.
STEP FOUR: Turn the heat to medium-high, stirring constantly until the sugar is completely broken down. Reduce the temperature to low and allow the mixture to simmer for the remainder of the time, stirring it often to ensure the fruit doesn’t burn. It will take awhile for the fruit’s skin to break down properly and for it to begin forming a jam-like quality. Taste tests are required!
STEP FIVE: (optional) After approximately 30 minutes, when you feel like the flavors are mixed properly, use a hand-blender to gently breakdown any large remaining pieces in the pot, careful to leave a bit of texture and chunkiness to the jam.
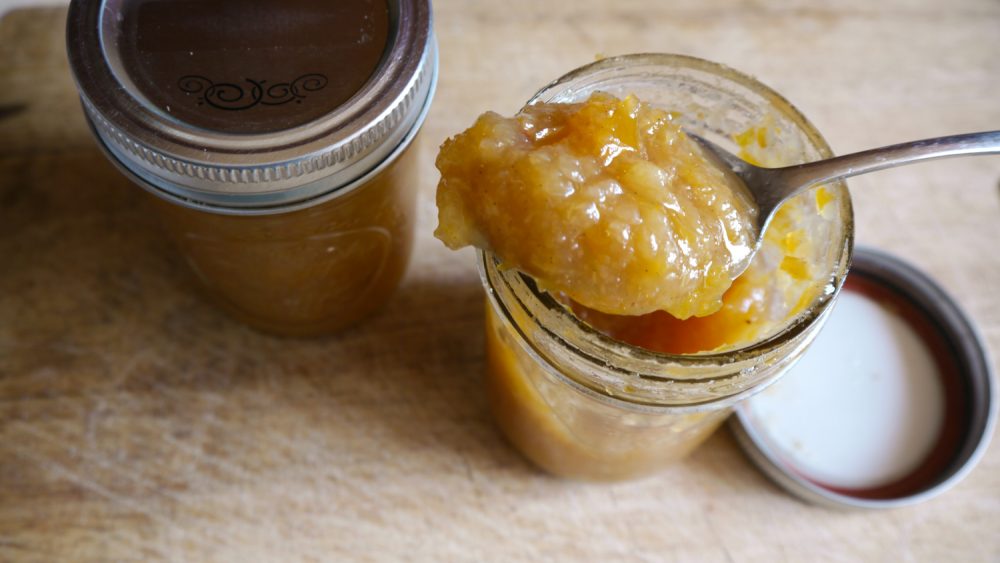
STEP SIX: Portion out the jam into the clean mason jars, seal and date the jars. I don’t sterilize the jars because it never lasts long enough in our fridge to make it worth this step. Refrigerated, jam can last for up to three weeks!
STEP SEVEN: Eat your jam and enjoy the fruits of your labor. If you’re feeling extra generous, share with your friends!


